
Halloween is such a fun holiday for families to celebrate. There are so many crafts, decor opportunities, costumes, festivals, and more. I don’t live by my nieces or nephew, so I wanted to send them something special this time of year. After reading the “send them the beach” DIY on TInkerlab.com I was inspired to do something similar. This is a great way to let the young children in your life know that you and your family are thinking of them during the holiday even though you may not be there for the holiday. The ‘Send them a Pumpkin’ idea is adorable and I knew it would be a fun keepsake activity for the kids to do. This craft is easy, fun, and the kids you send it to will love it! See below for all of the details!
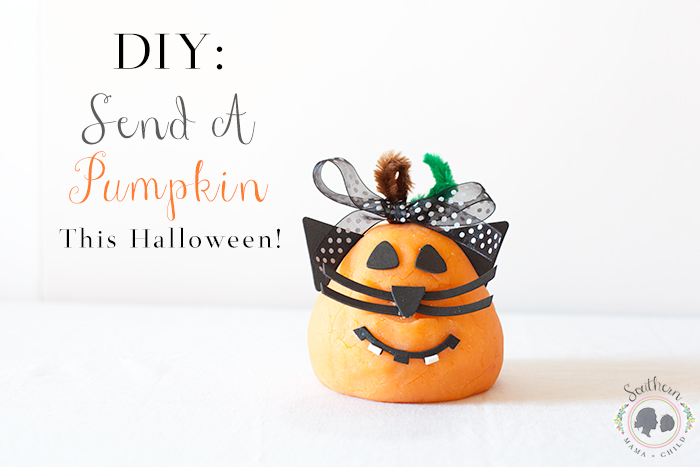
When putting together the container and deciding on the pieces to decorate the pumpkin- be creative and come up with anything you want. For my nieces and nephew we did a bat, pirate, and cat.
What You Need:
Play Doh (or make your own from this recipe)
Foam craft paper (for facial pieces to decorate the face of the pumpkin)
Ribbon (for a bow on the stem- if it is a girl gift)
Pipe Cleaners (for stem and leaf)
Super Hold Glue (To glue pieces on face)
A container to fit pieces and play doh
Cups or Cupcake holders to put foam pieces in to decorate the pumpkin)
Name tag (optional for outside of container)
Directions:
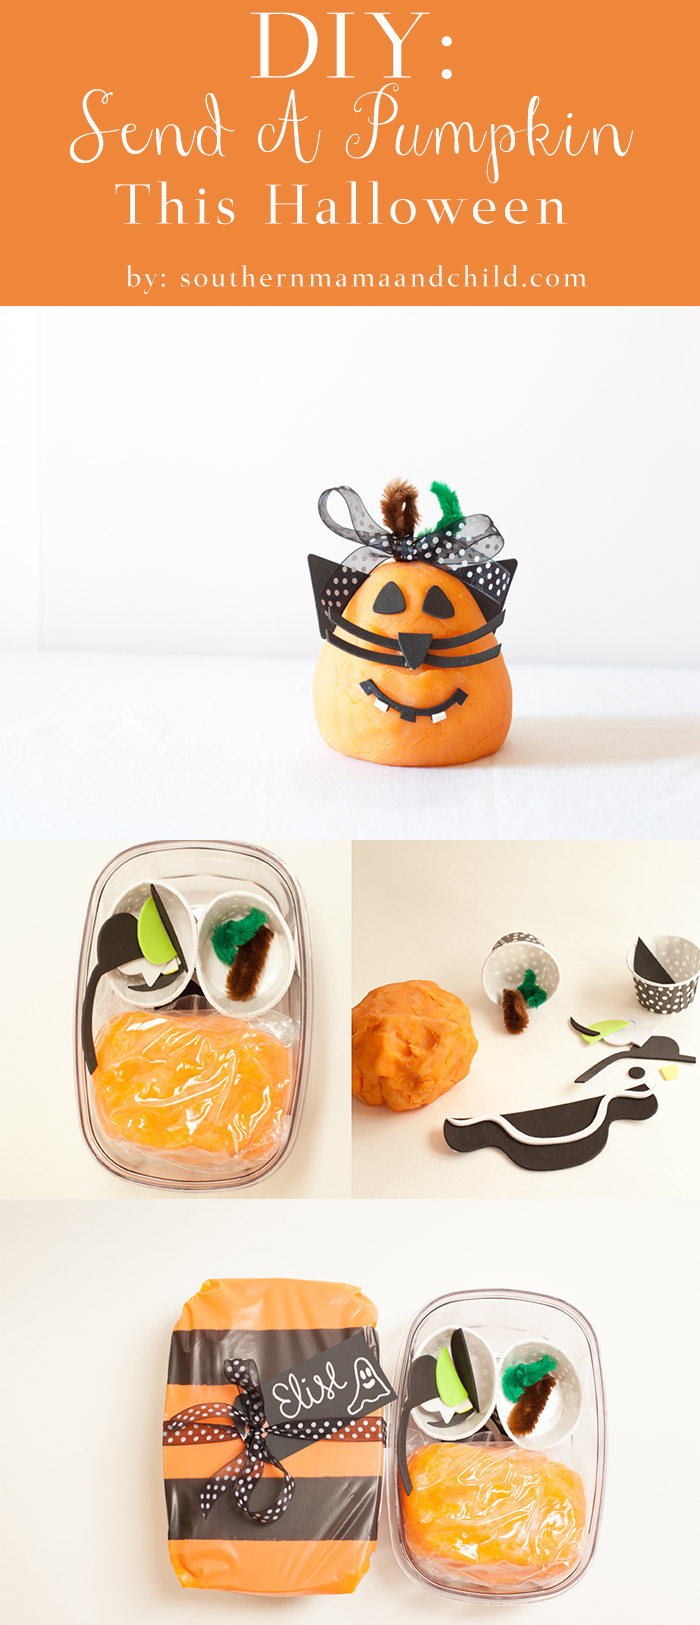
1. After you’ve prepared or bought your Play Doh, mold it to fit in a corner inside of the box.
2. Place small cups or cupcake holders inside the container and fill them with the necessary pieces to create the pumpkins face.
3. Seal container and label the outside with the child’s name on the outside.
4. Place in your post marked box and send to your loved ones to enjoy!


You did such a great job with this project! Such a cute idea!
Oh my goodness, this is SO cute! This would be such a fun project to do with my kids when they have friends over, pinned!
That’s adorable, Britt!! Pinning!
That is such a fun idea! We have some cousins we never see that would love something like this. Thanks!
I love this and totally bookmarked it for a future craft for my kids! Thanks for sharing!
Fun! My son just started playing with play dough so this may be the perfect activity for next halloween when he is 3!
These are super cute. I love howimaginative the kids can get with it.
My kids love playdoug. I have my reservations because it means I will be walking in playdough until I have a chance to vacuum but I think I will surprise my kids this weekend.
What a lovely and cool idea! I’m sure the kids will love this!
This is such a cute idea! I may just have to make these for the boys in my Den! I am a cub scout Den leader 🙂
this is adorable! Thanks for sharing 🙂